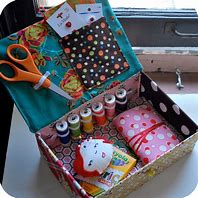
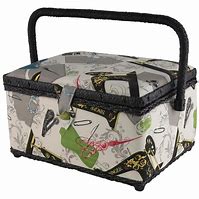
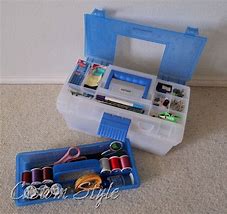
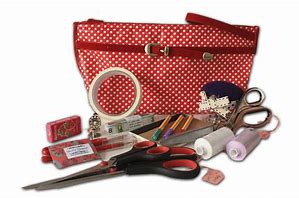
In this blog, we will be building your sewing box/kit. Most sewers have many ways to hold their sewing accessories. We hope that you enjoy our version.
Whether you are an avid sewer or a beginner, your sewing kit will stay with you for quite some time. My mother still has her large sewing kit that my father gifted to her in 1978. Some things in it are still there and then there are new items that she has purchase throughout the years.
Being organized helps us with creating our projects, most of us in the sewing world have many ways that we stay organized. Whether your box is big or small, homemade or bought, or your items are just that, they are yours.
Lets go ahead and start.
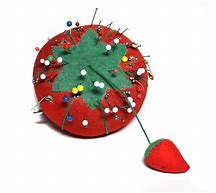
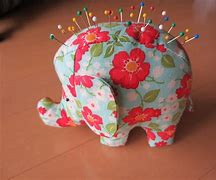
Your pin cushion holds all your pins, hand/sewing needles and safety pins. If you use a tomato, remember that the little pepper has fine grains of sand that help sharpen you needle points. I also keep a magnetic pin holder in my arenol because you never know if you will have an accident and spill your pins on the floor. I sew so everyday and right now, I travel back and forth to my daughters home to do online school with my grandson Ethan, so my pin holder is a small plastic food container to hold all of my pins so that I have a lid to prevent spilling during my travel time. Some sewer make their own pin cushions with their left over scrap fabric because we do not waste our fabric.
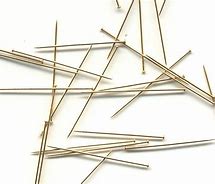
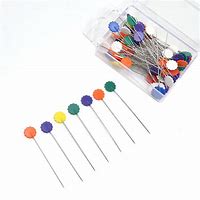
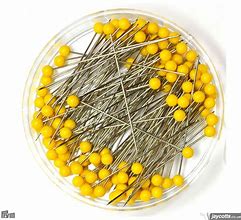
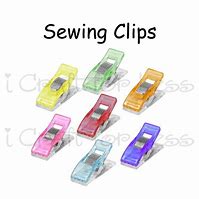
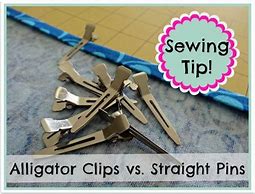
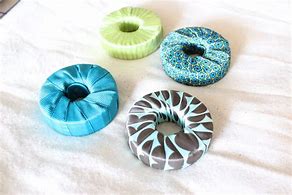
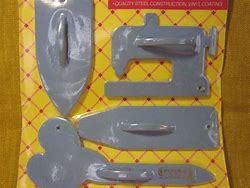
Our pins, whichever style you use, remember that they are sharp, so please be careful. I personally like the pins with the colored heads so that if it falls on the floor, I can see it. Pins come in various sizes so make sure you pick the size that works best for you. We use these pins to hold our fabrics in place, and it helps us placing our patterns on our fabric. Some sewers also use different types of holder to keep things down and I have pictures of those items.
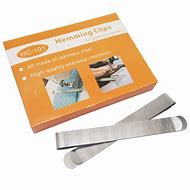
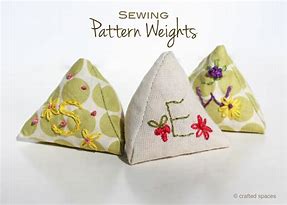
Clips and weights can also be used, usually they are used by very experienced sewers. Baby steps if you are a beginner.


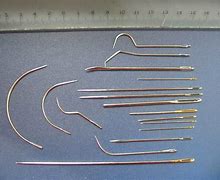
I like this website, www.sewing.org, it helps with various guidelines for sewing. It is especially helpful to newbie's. If you are unfamiliar with hand sewing needles. This chart is very handy.
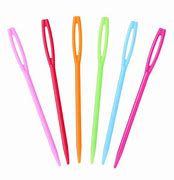
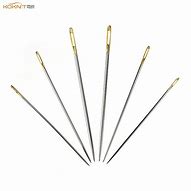
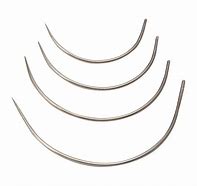
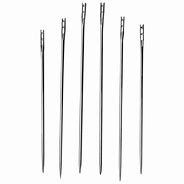
All hand needles come in various size, shapes and sharpness. Plastic needles are perfect for young sewers learning how to make their first stitches. The large eye help them see where to place their thread and the dull point keeps their fingers safe. There are some needles that have a side opening so you can thread your needle easily. I have found that if you use these they tend to snag on delicate fabrics. If you are into upholstery, your needles will be curved and also have different sizes. Make sure you use the proper hand sewing needle for the various fabrics you are using.


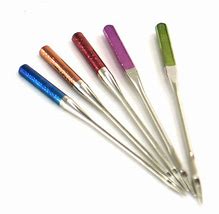
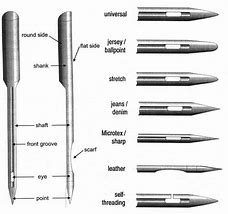
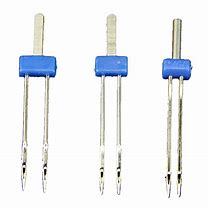
If you are a beginner, this chart will help you so that you can use the proper sewing machine needle for the fabrics you are using. There are various companies that sell sewing machine needles, read your manual, see if make a suggestion on what type to purchase for your machine. If you have multiple machines like I do, I make sure to keep plenty in stock for all of my various machines.
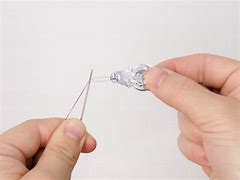
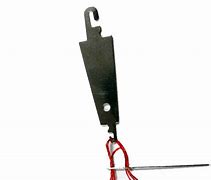
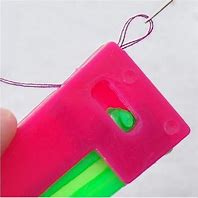
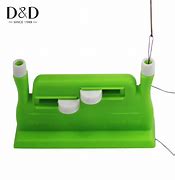
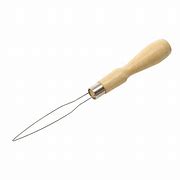
Let's move on; everyone should have a needle threader. Most of us can actually see the needle's eye when we are threading it, but some of us need just a bit of help. Here are various threaders.
If you like to hand sew more than machine sew, I might recommend the metal threader in the middle of the top row. It is large enough to use and not lose but small enough to store properly.
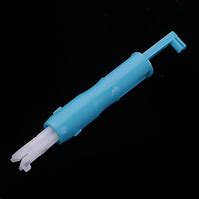
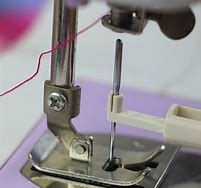
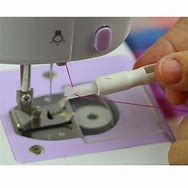
There are even needle threaders for sewing machines. Newer model machines will have an sewing threader attached to you needle holder. Your manual will show you how to use it.
As you can see from our middle picture, it can also help us place our machine needles as well.
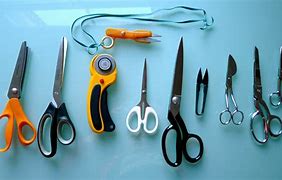
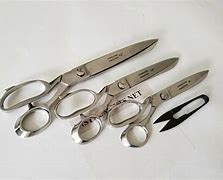
Our scissors are by far, one of our most important piece of equipment besides our sewing machine. If you scissors are not kept sharp, they will dull, this will make them difficult to cut fabric. Keep your scissors safe from others who might decide to use them on something other than fabric. Also, make sure that you have a good grip on the handles, we do not want to get blisters if the scissors do not fit comfortably in our hand. Lefties, they make wonderful scissors for you, you just need to find them. Most sewing stores sell them and I have found them on Amazon for my left handed students.


I tend to keep my fabric scissors put away and labeled as fabric scissors. I also keep other scissors with me to cut paper, threads, and to snip fabric. I also keep a pair of kid scissors, so if one of my students is sewing next to me, they are not using my scissors.
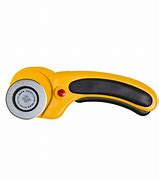
I played a trick on you, the picture on the end is a rotary blade, it is used by quilters to cut multiple pieces of fabric. Your rotary cutter should be treated just like your scissors, the blade can become dull if it is used on other things, instead of your fabric.

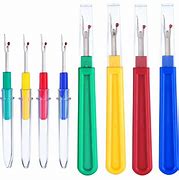
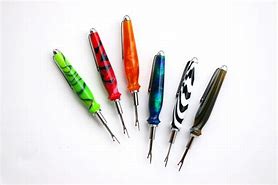
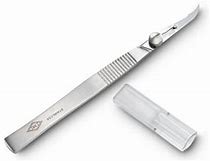
Besides using your sewing clippers to take something apart or fixing a mistake, you can use a seam ripper. They come in various shapes and sizes, so when getting your seam ripper, make sure you purchase one that has a good grip on it. You must be careful with this tool as it is sharp on it's end. Remember when taking something apart that the blade on your seam ripper can rip your fabric. The little red ball on the end helps your ripper from slipping.
Here are some other accessories you will want to have in your sewing box/kit.
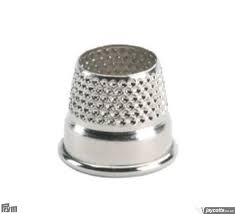
Your thimble helps protect your finger when you are hand sewing.
The sewing gauge works for hems and measuring. The piece in the center slides up and down to help you keep the measurement you need in place. Sewing guides are usually 6" long and they have a small point to help with corners.
Color pencils or chalk, help to make marks on your fabric. Map pencils work just as well and come with many colors.
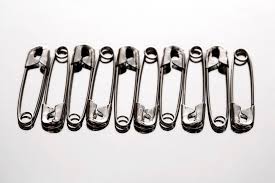
Safety pins are used to help keep your projects together if you have to step away from it. They can also be used to help turn your fabric right side out, if you are making a fabric belt or sash.
Tape measures come in various sizes, the majority of them measure to 60".
Your loop turner is for turning your fabric right side out when making tubing.
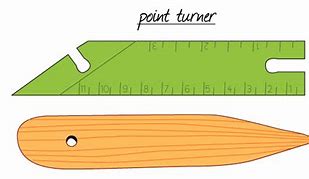
Point turners come in wood and plastic, they help with corners and help open your seams.
Point and turn loopers can loop like a grabber.
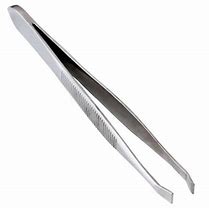
Tweezers come in handy when putting threads into small space, especially a serger. A serger is an edging machine.
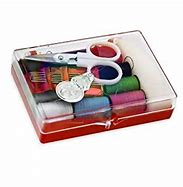
These are the important things to have in your sewing box/kit. If you are purchasing a kit that has all these items, it will come with thread. I like to keep my thread in a separate box or spool hanger so that my sewing accessories do not get tangled in my thread.
I also keep a yard stick and a regular ruler nearby. They help me measure my fabric in meters or yards. My regular ruler helps me because my sewing gauge only goes to 6" and sometimes I have pieces longer than 6".
My iron is part of my sewing box, I use it to press my seams open, to iron my finish product and I also use it as a marking tool if I am using my embroidery machine. It may not fit in your kit but you can keep it nearby.
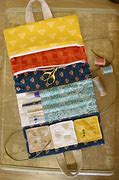
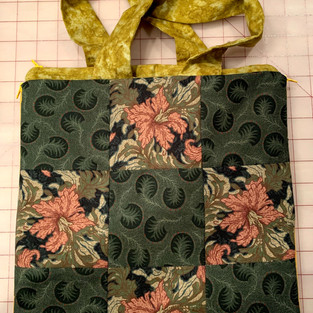
I created a travel sewing bag for myself out of the quilt squares I made for our Simple Quilt Square Blog. I have created the patterns for you and they will be on the PDF section of the website, along with instructions on how to make this bag. Here are the following photos, you can see I created a bag that could be opened flat. It has pockets on both sides of the main bag and I also have a attached zipped bag in the middle, it also have a pocket on one side.
I do hope that you will try to make this bag for your sewing items.
Our next blog is all about making a pair of PJ pants and maybe throwing other items into the mix as well.

Love and world peace, Ms. Ida











Commentaires